Create an Access Token
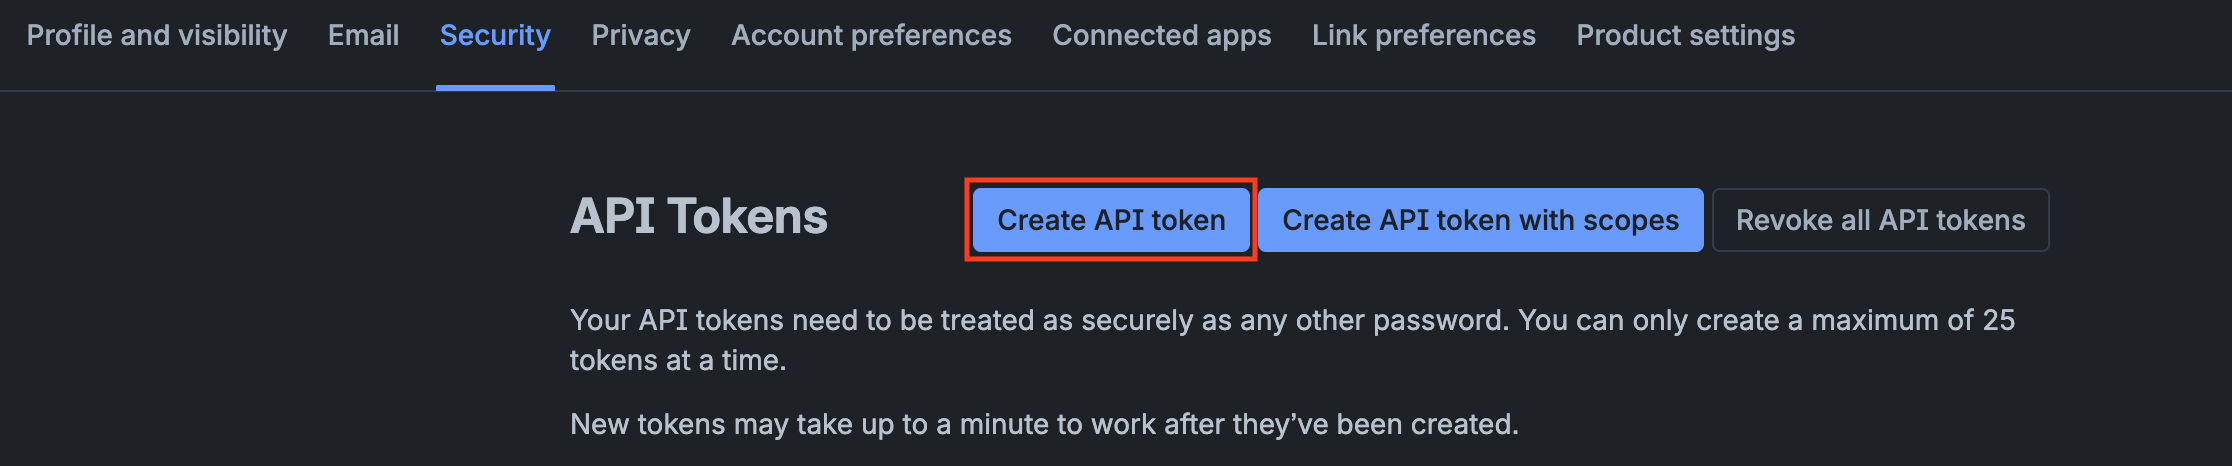
For Tableau to access your Jira data, you need an Access Token (also called an API Token). It's similar to a password but more secure. You can create a token in your Atlassian Account.
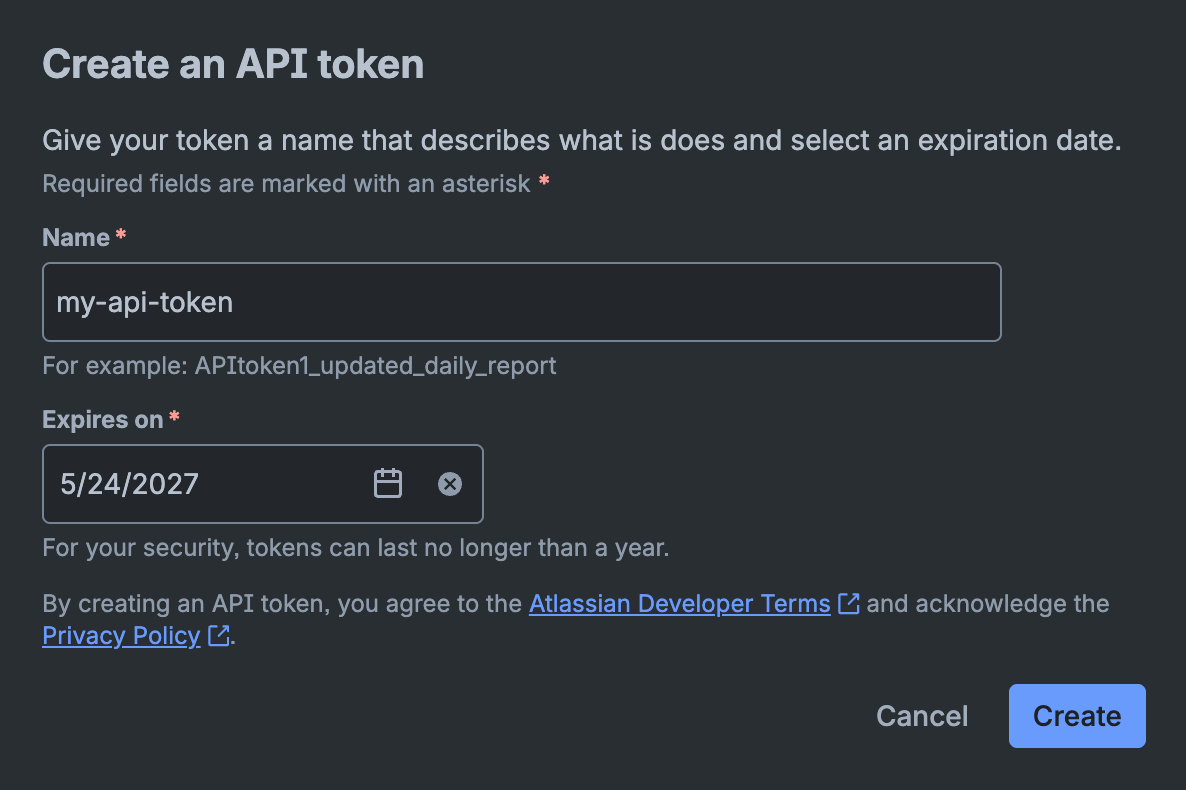
Give your access token a name and select an expiration date.
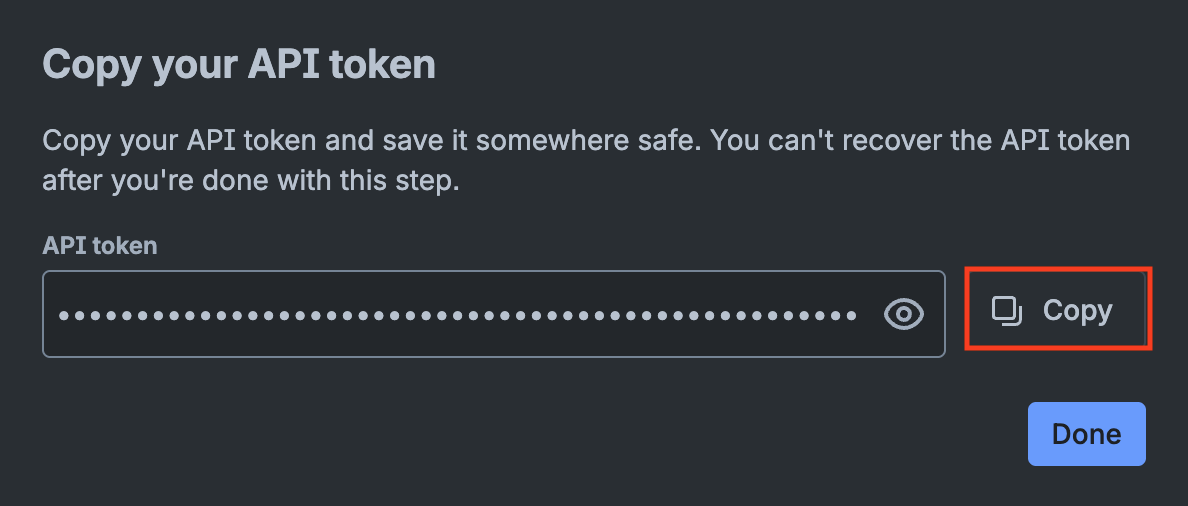
Once created, make sure to copy the token and save it somewhere safe.
Create a Connector
The first step is to choose which Jira data you want to bring into Tableau. Use simple dropdown menus to select your project, assignee, issue type, and more. Need something more advanced? You can also use JQL to write custom queries or choose from our examples.
Note: Your connector acts like a smart filter, not a one-time snapshot. It remembers what data to fetch (like "all issues assigned to me in Project X"), but doesn't store the actual Jira data. This means every time you refresh in Tableau, it automatically pulls in the latest issues - no need to create a new connector when your Jira data changes.
When you first create a connector, it defaults to Basic Filters:
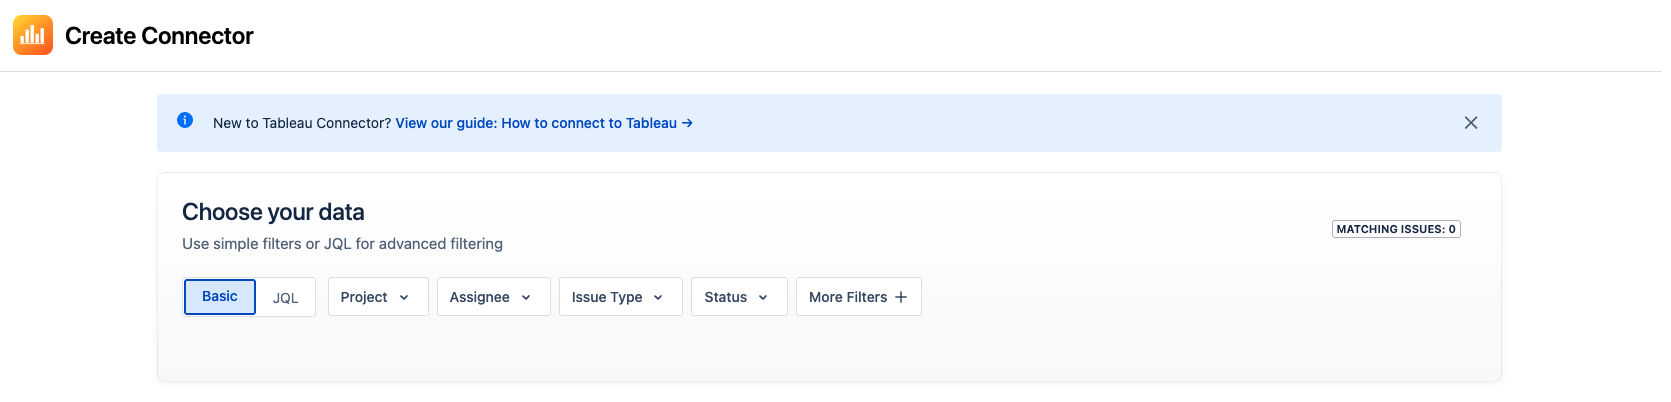
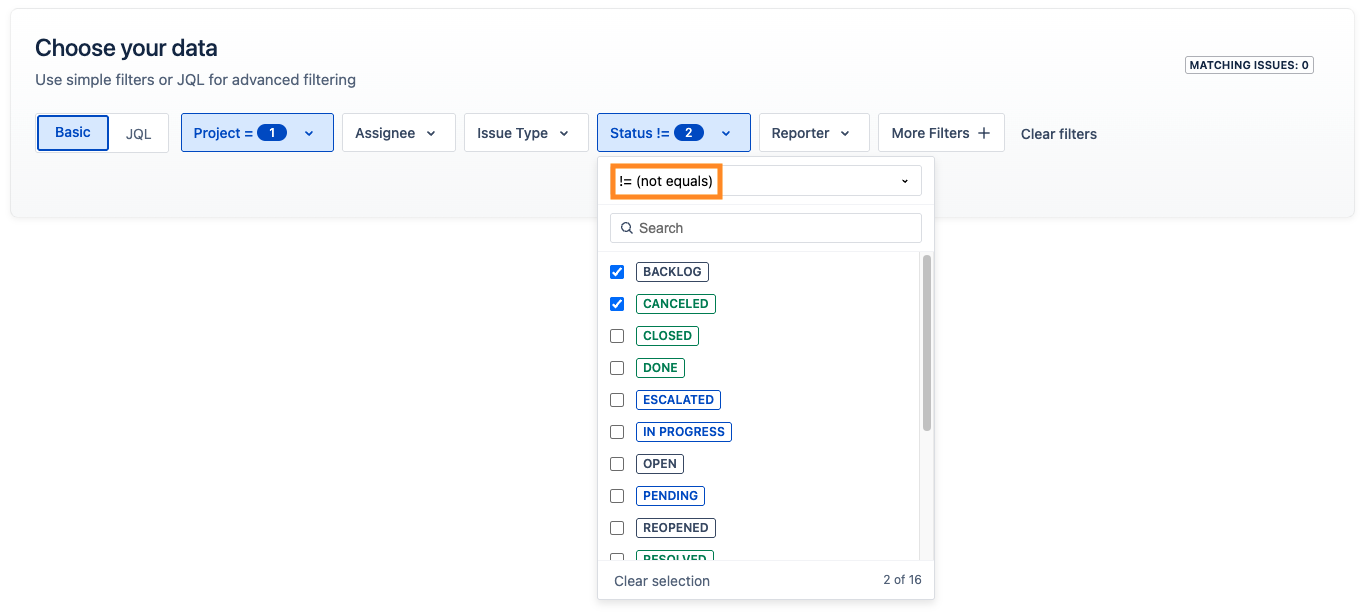
You can mix and match filters to fine-tune your results, or use the dropdown to exclude certain values — for example, you might want to include all issues in a project except those in Backlog or Cancelled.
Once your filters return one or more issues, you'll see a list of available fields, including both system and custom fields. Fields marked with the table icon will be exported as separate tables in Tableau. This is used for fields that contain multiple values per issue (such as Linked Issues, Sprints, and Comments), allowing Tableau to model these one-to-many relationships correctly. Learn more about multi-table data →
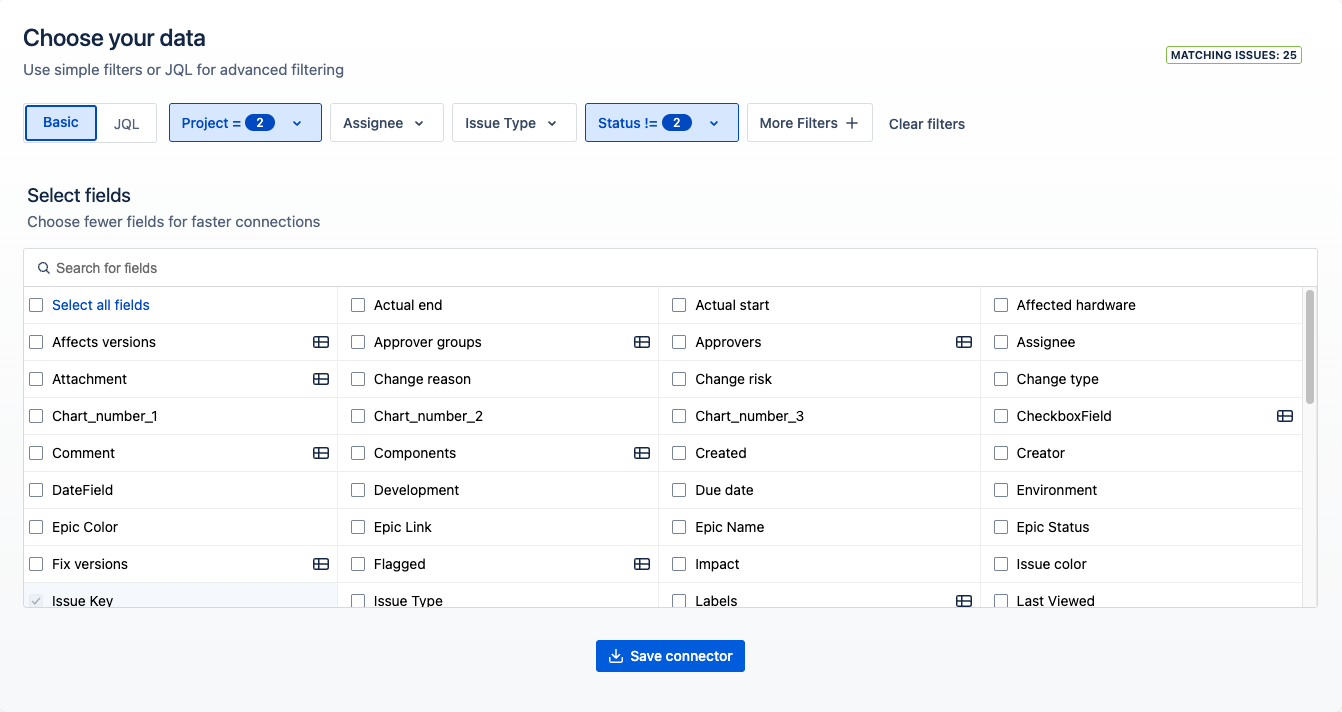
Note: Selecting all fields will slow down connections. We recommend only including the fields you need for your Tableau visualizations.
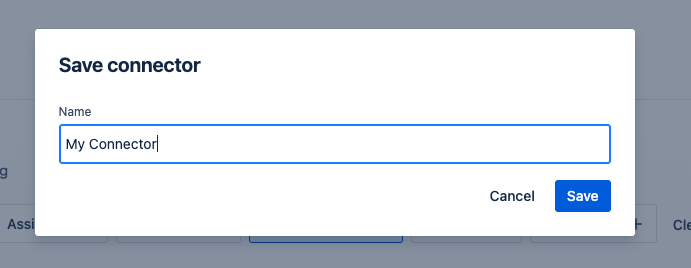
When you click the Save connector button you'll be prompted to give it a name.
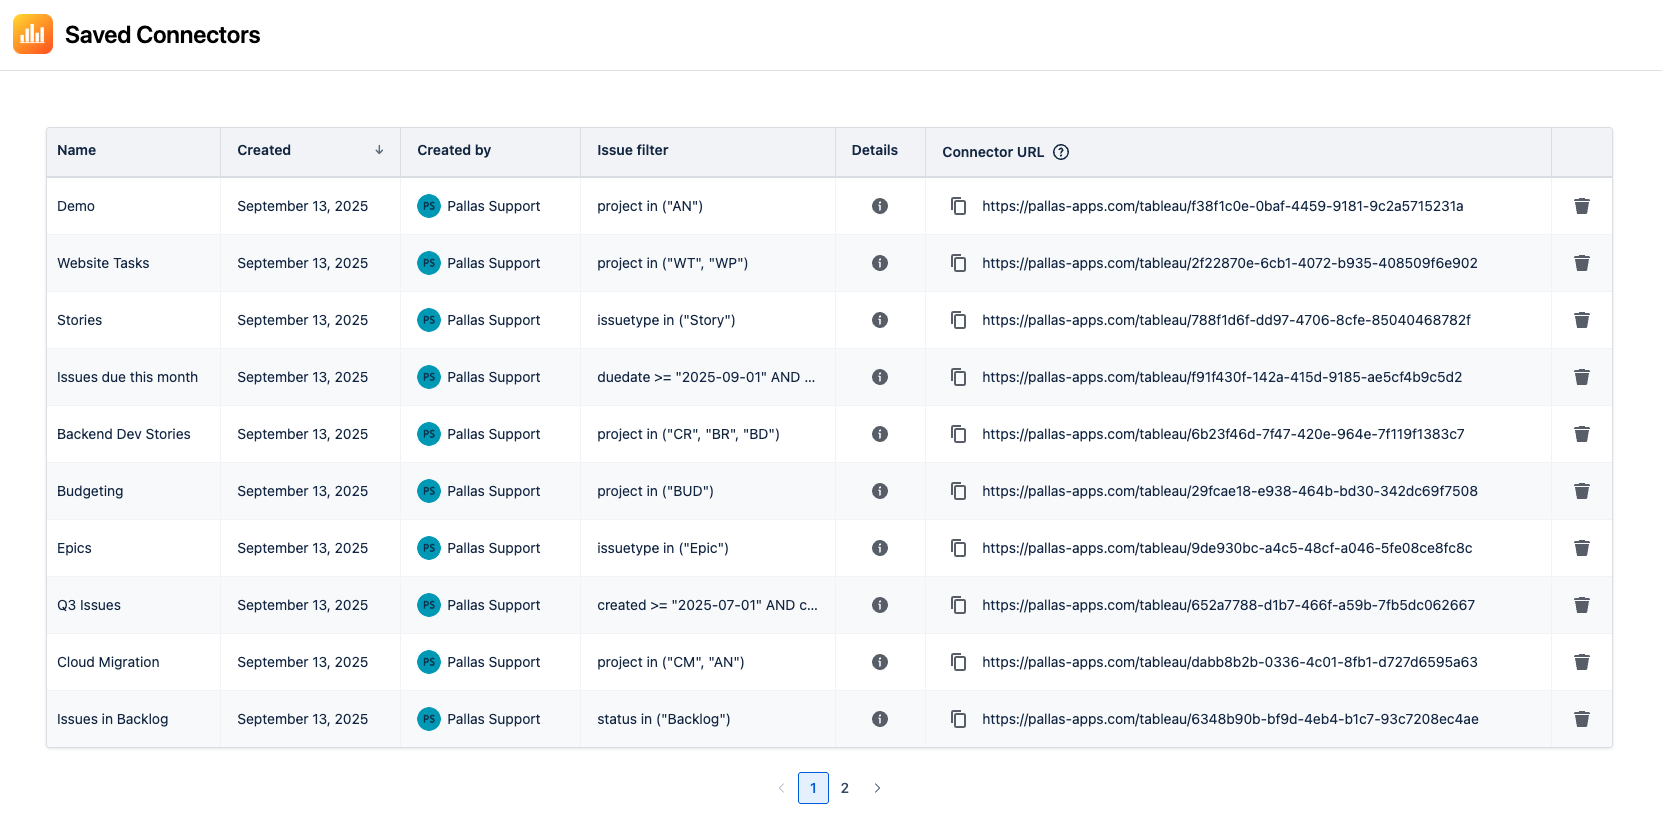
After you save the connector you'll be brought to the Saved Connectors page which includes all the connectors for your Jira instance.
Connect to Tableau
To bring your Jira data into Tableau, follow these steps:
1. Copy the Connector URL
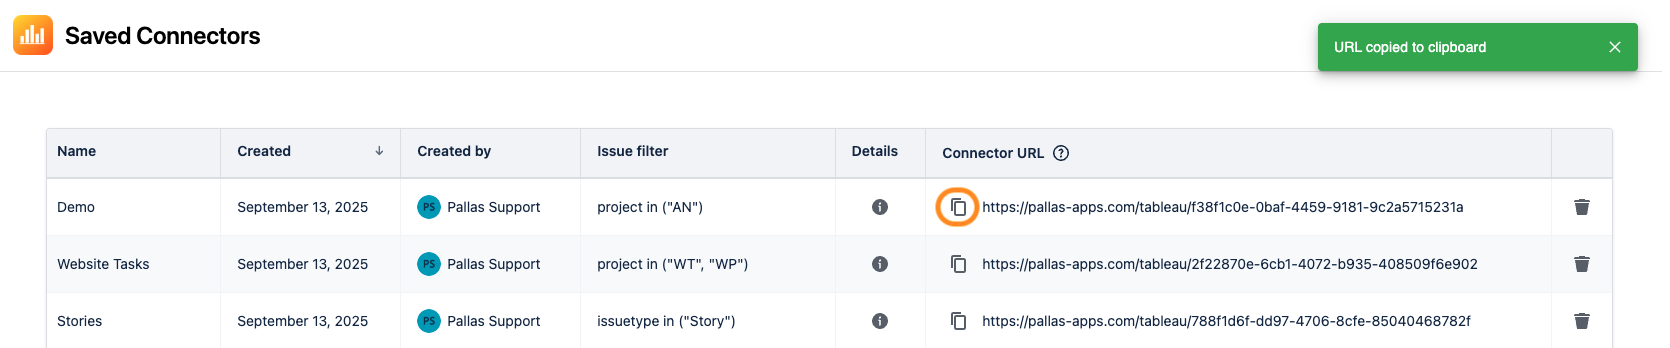
From the Saved Connectors page, click the copy icon next to the connector you want to use.
2. Open Tableau and select OData
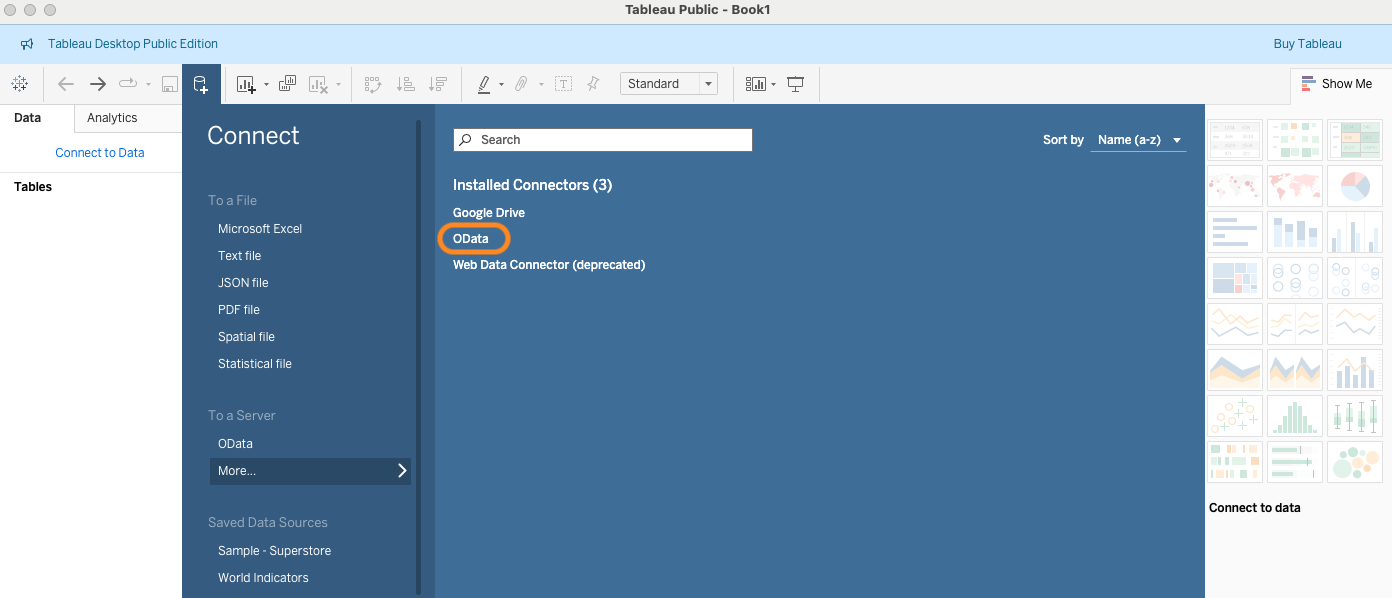
If you haven't already, install Tableau Desktop. In Tableau Desktop, click Connect and choose OData.
3. Enter your credentials
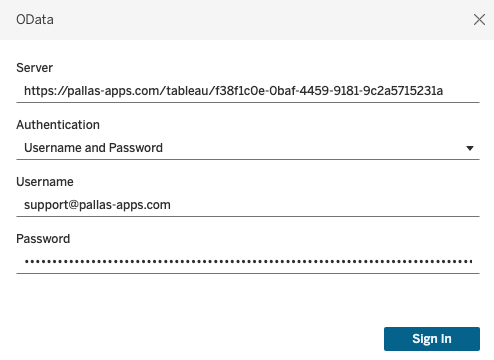
Paste the URL you copied in step 1 into the Server field. Choose Username and Password for authentication. Enter the email address associated with your Jira Cloud instance in the Username field. Enter your Access Token (not your Jira password) in the Password field. See how to create an Access Token here. Click Sign In.
4. Select your tables
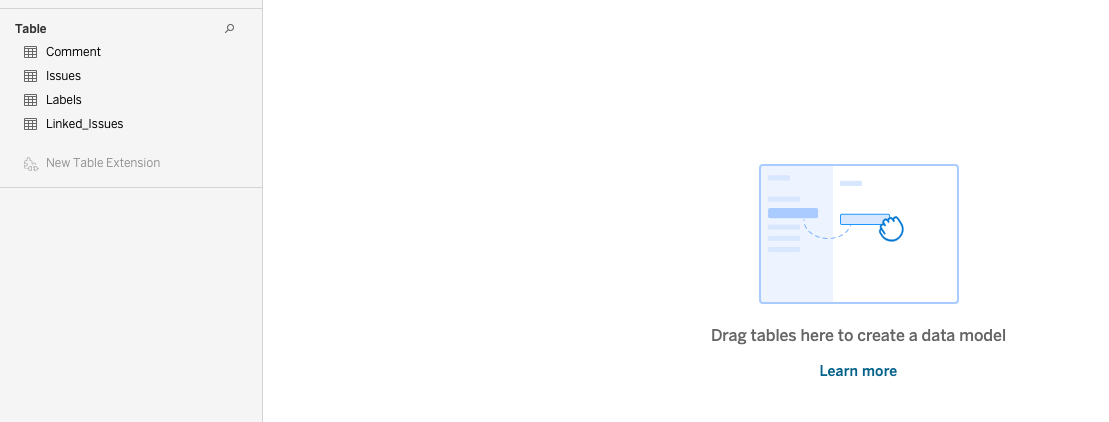
When prompted, select the tables you want to include. Depending on how many issues and fields were selected, the data preview may take a while to display. The number of tables will vary based on which fields you selected when creating your connector.
5. View your data model
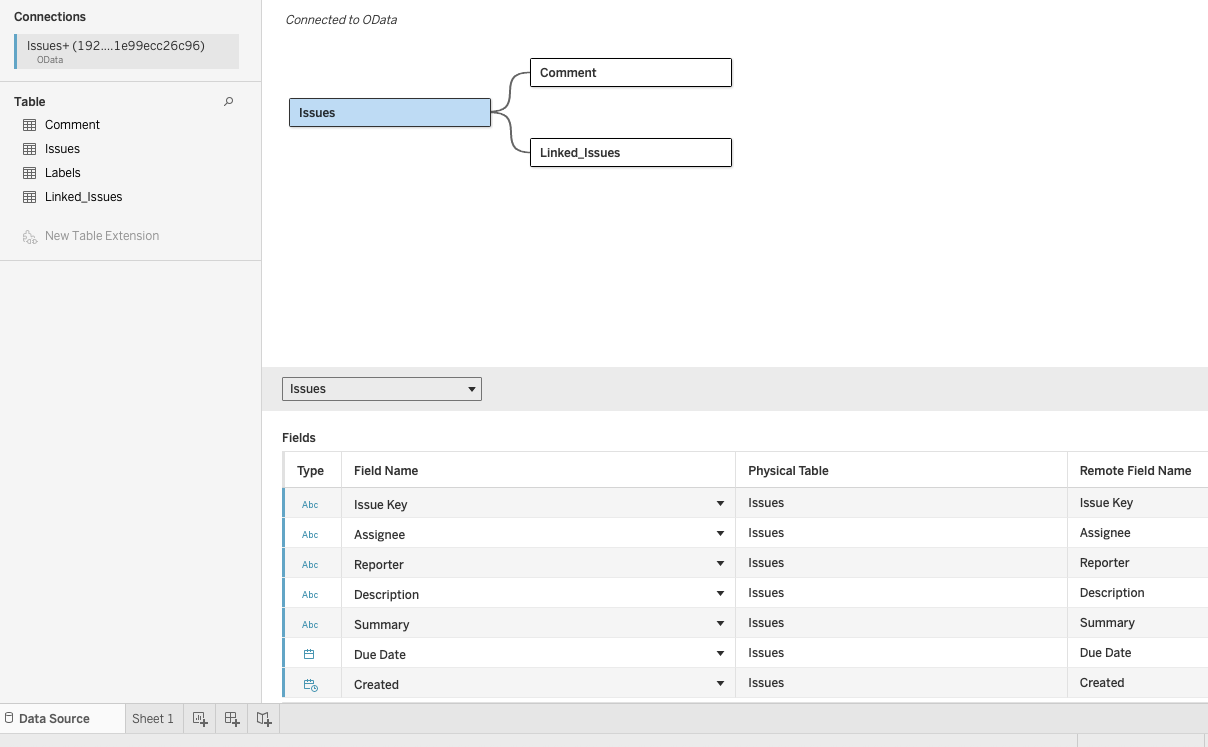
Once tables are selected, you'll see how they're connected. All tables are linked by the Issue Key field, which allows you to create relationships between the main Issues table and related tables.
6. Start analyzing
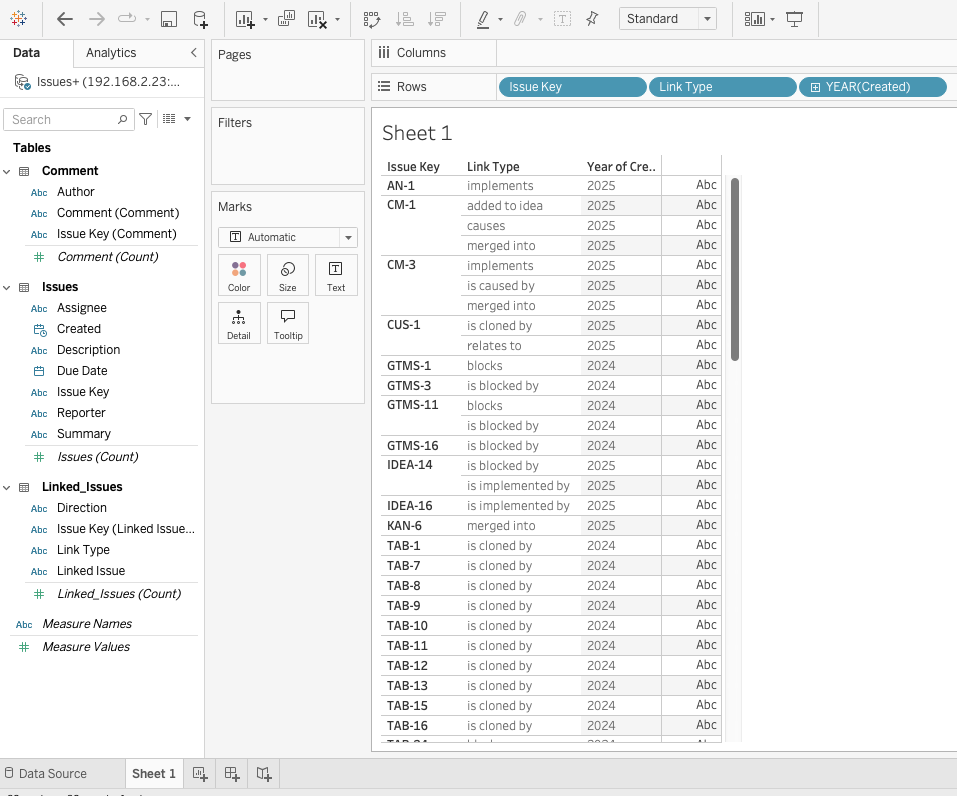
Once the data is imported, you can begin building custom reports and visualizations with your Jira data.
Need Additional Help?
If you have any questions or need assistance, our support team is here to help